How to Remove Tint From Car Windows
It’s Time to Remove That Old Tint
You can’t stand looking at it any longer…
You’ve had your vehicle for almost ten years, and it’s time to remove the tint…
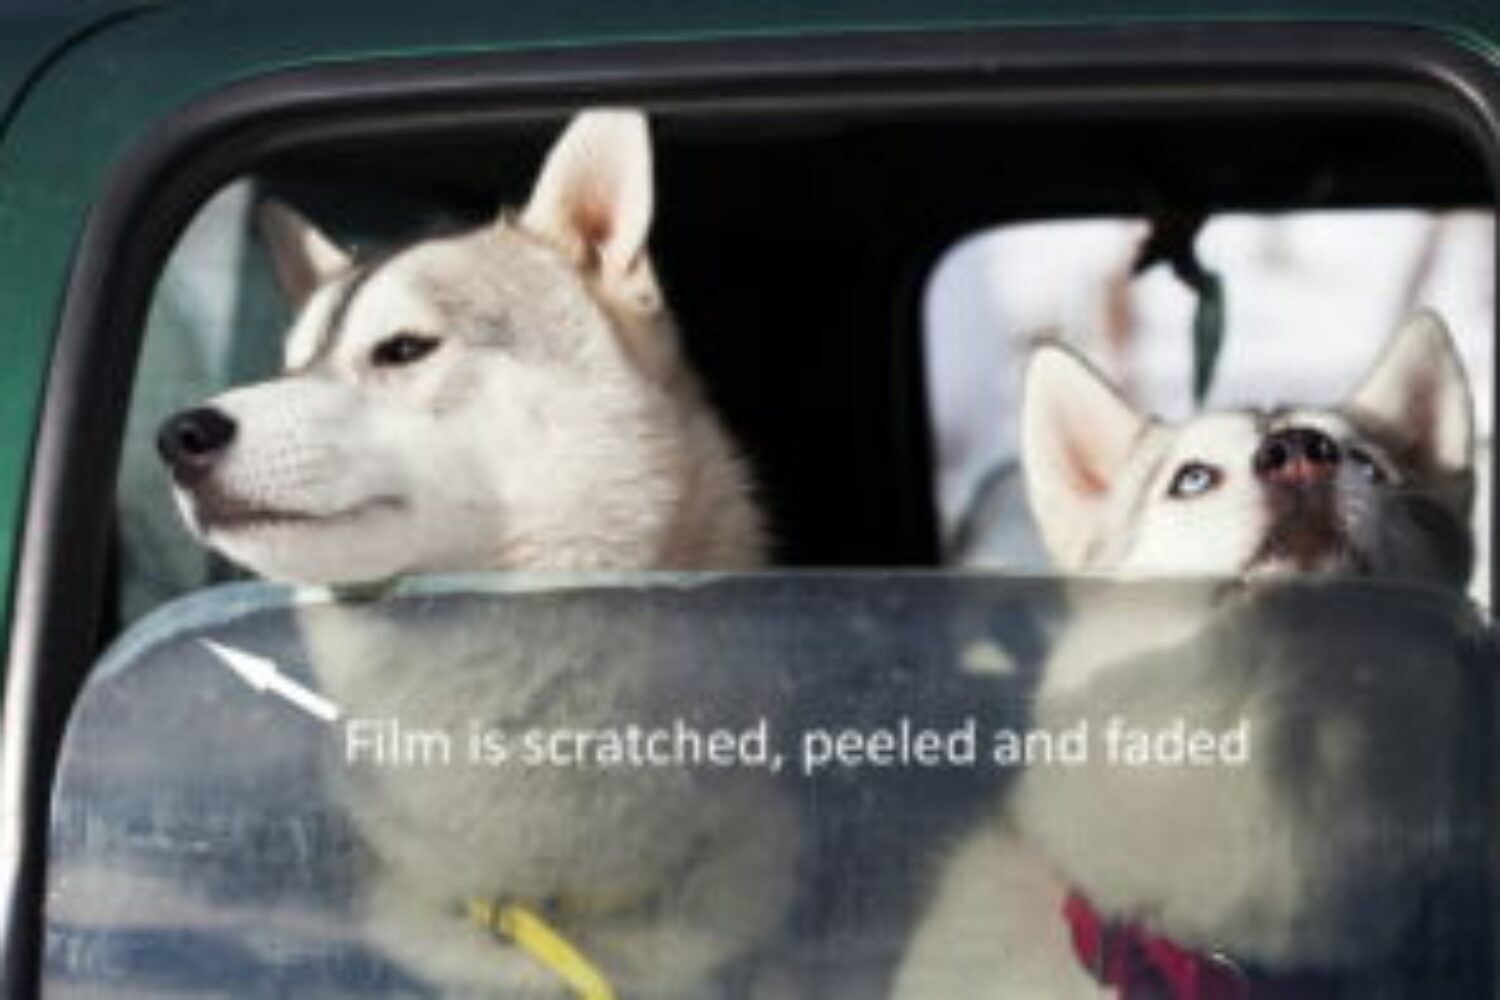
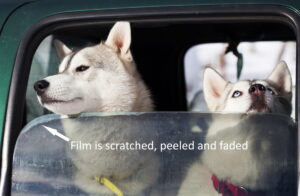
It’s discolored in some areas and bubbled in others, so it’s time to remove and replace your tint and have it replaced with a ceramic film. A newer film on the market that offers better heat rejection and UV protection.
What You Will Need to Remove the Old Film…
In this post, I will explain how to remove tint that is old and how to prepare the glass so it’s all nice and clean so you can get it re-tinted. If you so desire?
I will explain how to remove the tint off the glass so you can save yourself money on labor.
[sc name=”quote”][/sc]
If you decide this method of removing the window film is too risky, and you are afraid of accidentally slicing your back defroster line if you have to use a razor, then, by all means, take your vehicle to our tint shop. We’d be more than happy to remove and replace the film for you.
We will need your vehicle for several hours to do a thorough job removing all traces of the old film and the adhesive.
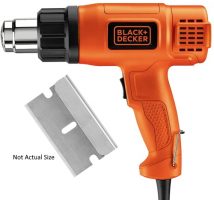
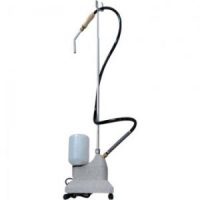
In our shop, we use a steamer to remove the old film. For this post, we are trying to save you money, and a heat gun is much cheaper at only $30 as opposed to buying a steamer which can cost over $300 to purchase.
Now! If the film you applied was a quality brand, this should make removing the film a much quicker task than removing cheap film that will most likely come off in small pieces and leave traces of adhesive behind.
Learning how to remove tint is not a difficult task. It’s mostly time-consuming and repetitive. And as I just stated, hopefully, the window film comes off easy when you apply heat onto the film, and the film doesn’t separate from the layer of adhesive that helped the film stick to the glass.
Make sure you don’t start picking and tugging at the film when the glass is cold. If you do, it’s most likely going to cause the adhesive to remain on the glass when you peel off the layer of film.
The adhesive layer should not separate from the film if you use the suggested method.
If it doesn’t come off in one piece, removing the residue adhesive layer is a pain to remove.
You have to painstakingly remove the adhesive from the glass and the defroster lines. Making sure you don’t slice or break the filament. Your defroster will no longer work if you cut one of those lines. Keep that in mind.
A professional window film installer will tuck the film behind the plastic trim. You might have to remove that trim to access and remove the film trapped behind the frame and glass to perform a thorough job of removing all traces of window film.
Hopefully, the heat gun will remove all traces of your film. But keep a new razor blade handy just in case some glue gets left behind on the glass.
You can purchase a heat gun at any hardware store or online. They cost around $30. You might even be able to rent one or borrow one from a friend who has a painting business.
[sc name=”quote”][/sc]
Do Not keep the heat gun in one spot for too long. If you do, you have the chance of causing other damage, so apply the heat with a left to right motion in a 3 – 4-inch section at a time.
When you start pulling at the film, you want to make sure there is no residue of adhesive left behind on the glass. You don’t want the two layers to separate if possible.
Keep pulling at the film and applying heat. Hopefully, you should be able to remove the entire layer of window film and adhesive from the glass without it tearing and without it leaving any glue behind.
[sc name=”quote”][/sc]
Removing Film from a Frameless Window
When removing the film from the front frameless rollup windows, you might have to use a razor blade to help take hold of the film’s initial edge.
Place the razor blade on an angle, so you’re going more aggressively on the tint and less aggressive on the actual glass. You do not want to scratch the glass with the razor blade’s edge.
Once again, use the heat gun to remove the film from the side windows. Then when the film feels warm, you can start peeling back the film using a little pressure. The film should peel away from the glass without leaving any adhesive behind.
[sc name=”quote”][/sc]
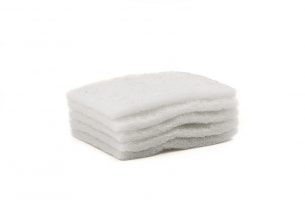
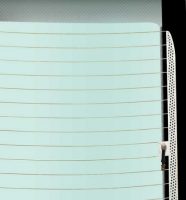
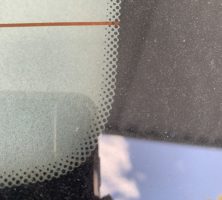
Those black dots are raised from the surface, so you cannot use a razor blade to remove any adhesive. We recommend using a softer scrub pad than a scotch guard pad, but it’s aggressive enough that it’ll pick up any imperfections on the glass.
If any adhesive is stuck on or trapped between the black dots, use the same method as mentioned above. Apply heat using the heat gun and accompanied by the scrub pad. The scrub pad should remove any remaining adhesive left on the glass.
When all the film and adhesive have been removed from all your windows, clean them off with an Ammonia-free window cleaner to make them look crystal clear.
If you use the wrong window cleaner on your tinted windows, it could break down the composition of the film and turn the tint purple.
We recommend using a glass cleaner like Clarity, specially formulated for after-market tinted windows.
We hope you enjoyed this post on how to remove tint. Now you are ready to apply a nano-ceramic window film like XPEL Prime XR, or XPEL Prime Color Stable that’s also available at our tint shops.

